How to Install Web3 into your Project.


This is a step-by-step article on how to install the web3 library into your projects. Before you install web3, you'll first need to install nodejs.
Step 1. Download nodejs, if you don't already have that in your pc. nodejs is cross-platform, so you can install it whether you are on a mac, Linux, or windows (nodejs.org/en/download) When you download nodejs, at the same time it is going to install the npm node packages.
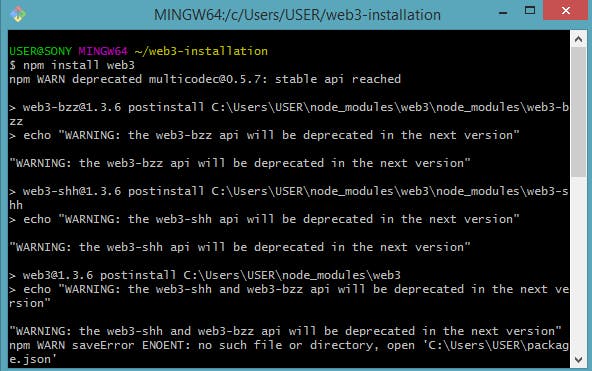
Step 2. Open your terminal and navigate to your project folder, and install the web3 as an npm package by typing in
npm install web3
I am installing it with a windows pc.
Step 3.Import and use it in your existing project file or new project file
Let's assume the installation process worked fine and having installed it, let us now use it in our file. We will create a file and see how we can use the installed web3 library in the file. We will create a new file from the command line using
code index.js
(File will open in VsCode)
Then you import web3 into your project by typing
const Web3 = require('web3')
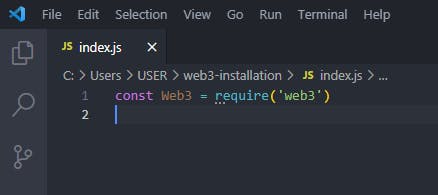
You can then use the web3 in your project by using the Web3 variable.
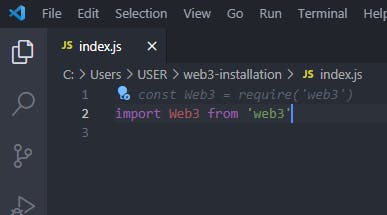
We can also import this in your frontend applications, for example, if you use webpack or React you can import it into your projects using this
import Web3 from 'web3
This is a simple way you install the web3 library and import it into your project. You can read the web3 docs here to find details on how to use the library in your project. (web3js.readthedocs.io/en/v1.3.4)